




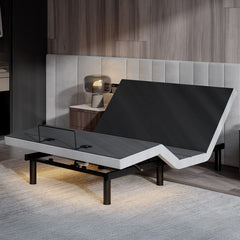












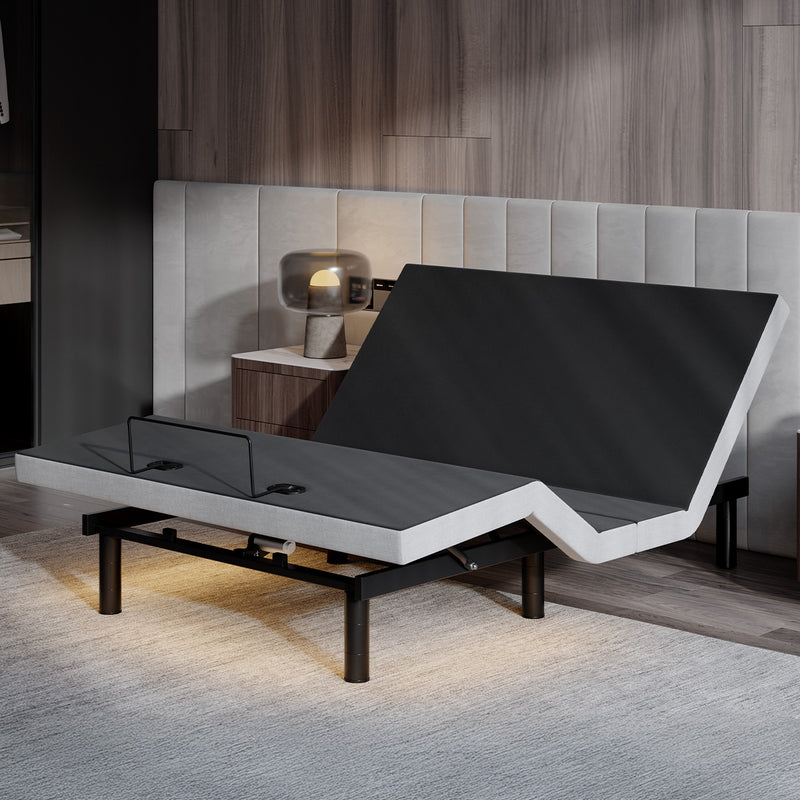







Setting up an adjustable bed takes four stages: measure the delivery path and choose the spot before the box arrives, unfold and position the base with two people, choose legs, zero-clearance or an existing bed frame, and then add the mattress, retainer bar and remote. Many bases now ship largely pre-assembled, so the hard part is often the carry, not the build.
What follows is a general guide that applies to most bases, with notes on the SweetNight SenseSync base where its specs change the steps. It isn't a replacement for your manual. Where a manual and a blog disagree, follow the manual.
What Do I Need for My New Adjustable Bed?
Buy or find these before delivery day. Most first-night problems come from something on this list being missing.
| Item | Why you need it | Note |
|---|---|---|
| A compatible mattress | The base folds the mattress every time it moves | SenseSync: all-foam memory foam, 12 or 14 inches only |
| Fitted sheets with enough pocket depth | Sheets pull off corners when the head rises | Pocket at least as deep as the mattress |
| Grounded outlet or surge protector near the head | The base needs constant power to move | Keep cords where the deck can't pinch them |
| 9V battery | Powers emergency lowering on bases with a backup | SenseSync has a 9V clip; battery not included |
| Second person | Carrying, unfolding and placing the mattress | Bases are heavy; see the weights below |
| Tape measure and painter's tape | Measuring the route and marking the footprint | Measure before you buy, if you can |
| Furniture pads or cups | Protect floors and reduce wobble on carpet | Useful on any setup with legs |
The mattress is the item people most often get wrong. If yours is a hybrid or thicker than 14 inches, read whether you need a special mattress for an adjustable bed before delivery, not after.
Before Delivery: Measure the Path, Not Just the Door
Adjustable bases are heavy. Sleep Foundation says most weigh 140 to 200 pounds, and Tempur's moving preparation guide puts them at roughly 150 to 250 pounds and says they aren't designed to be moved by one person. Weight, not width, is often the real limit.
You'll see "doors are 32 inches wide" quoted as a rule. It isn't one. The 32-inch figure is the ADA's minimum clear width for accessible doorways, and the International Residential Code sets the same 32-inch clear width for one egress door per home, adding that other doors don't have to comply. Your bedroom door can be narrower, and "clear width" is measured from the door face to the stop with the door open, which is less than the door slab itself. Measure your own.
What to measure
- The narrowest doorway on the route, measured with the door open, from the face of the door to the stop.
- Hallway width at every turn, and the distance you have to swing a long box around a corner.
- Stairs: the width, any landing or turn, and the ceiling height above the turn, where long boxes usually get stuck.
- Elevator depth and door width, if you have one.
- The bedroom floor area where you'll unfold the base.
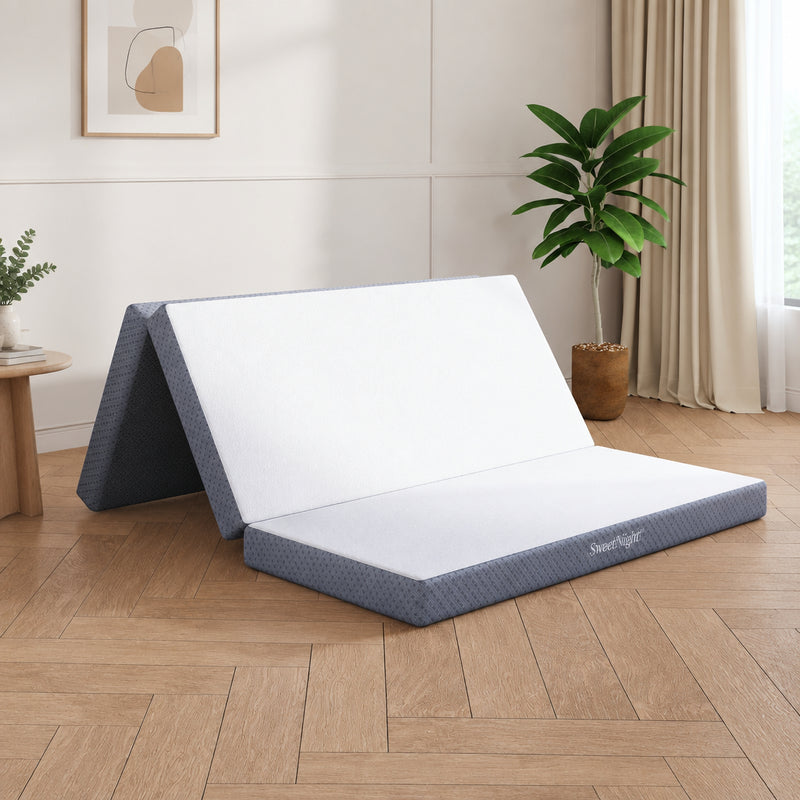
Then compare the route with the box, not the assembled bed. The SenseSync base folds and ships pre-assembled in a box under 7 inches thick, which is what gets it through narrow doorways, stair turns and small elevators:
| SenseSync size | Box (L × W × H) | Boxed weight | What usually limits it |
|---|---|---|---|
| Twin XL | 41.1" × 39.8" × 6.9" | 100.8 lb | Weight; any two adults can manage the size |
| Full | 55.1" × 39.0" × 6.9" | 129 lb | Weight on stairs |
| Queen | 61.2" × 41.9" × 6.9" | 145.5 lb | The 61.2-inch length at stair turns, plus weight |
| Split King | Two Twin XL boxes | 2 × 100.8 lb | Two trips instead of one heavy one |
Carried on its long edge, a box under 7 inches thick needs very little door width. The length is what you'll be maneuvering around landings. Our adjustable bed sizes and dimensions guide has the assembled base sizes and the room clearance math.
Choose the spot: outlet, wall gap and clearance
Pick the spot before the box comes in, because you don't want to drag an assembled base across the room. Sleep Foundation's queen bed guide suggests leaving at least 24 inches on the foot and either side of the bed, and marking the footprint with painter's tape first. That's a comfort guideline, and it works well for adjustable beds too.
An adjustable bed adds a few checks a flat bed doesn't need:
- Power. The base needs an outlet it can reach without a cord stretched across a walkway. A grounded surge protector is a good idea; Tempur's own troubleshooting steps recommend one.
- The head wall. Many bases, SenseSync included, aren't wall-hugging designs, so the raised head section moves relative to the wall. Leave a gap and raise the head all the way before you push nightstands and a headboard into their final positions.
- Nightstands. Keep them just clear of the base so nothing gets caught in the moving deck.
- Under the bed. The space must stay clear. That usually means giving up under-bed storage.
- USB side. SenseSync's USB-A and USB-C charging port is on the left side of the base. If only one of you charges a phone in bed, decide who gets that side now.
How to Assemble an Adjustable Bed
How much assembly a base needs varies by brand, so check the manual first. Folded bases like SenseSync ship with the frame, motors and wiring already assembled at the factory, which turns assembly into unpacking and unfolding. The general sequence below works for most bases.
- Carry the box into the bedroom before opening it. Open it where the bed will live.
- Remove the loose parts first: remote, power supply, legs, retainer bar. On the SenseSync base, the legs come as three 3-inch segments per leg, plus an extra segment packed separately. Find that separate pack before the cardboard goes out.
- With two people, lift the base out. A folded SenseSync base can stand upright on its support strips, which makes this step easier than it sounds.
- Unfold it following the manual, with hands clear of the hinge line.
- Set your height: attach legs, or lay the base flat on the floor, a platform or inside a frame (next section).
- Plug in, confirm the remote works, and run the head and foot all the way up and down once with no mattress. Watch for anything the deck touches.
- Clip on the retainer bar and place the mattress.
Running an empty cycle is the step most people skip, and it's the one that catches a cord under a leg or a nightstand in the way. It takes a minute.
Legs, Zero-Clearance or Inside a Bed Frame?
You have three basic ways to set up the base. The detailed rules for frames, slats and clearances are in our guide to putting an adjustable base in a bed frame; here's the short version.
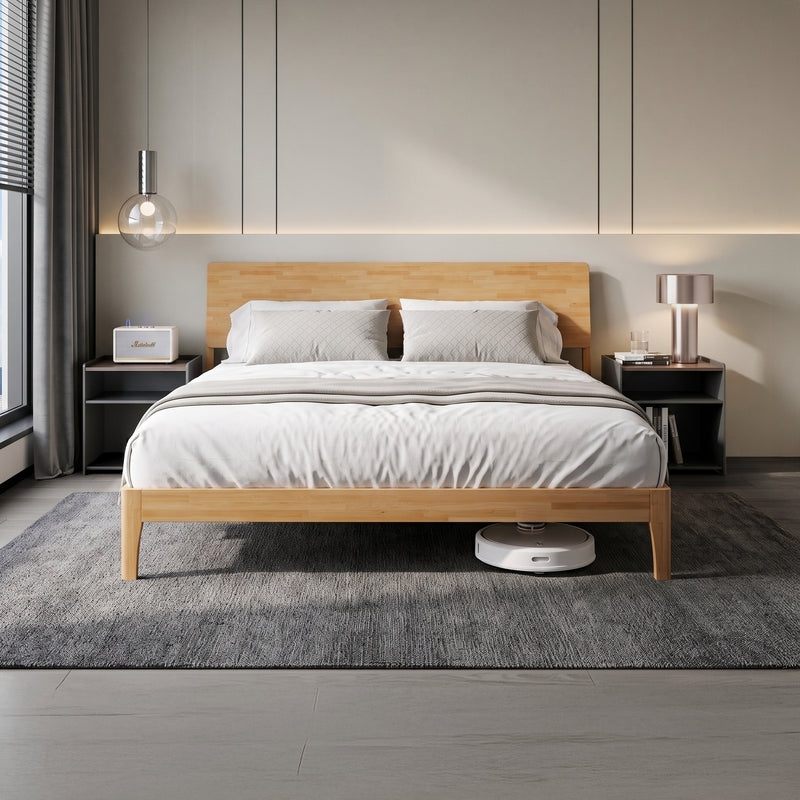
| Setup | Best for | Watch out for |
|---|---|---|
| Standalone on legs | Simplest setup; under-bed light visible; easier to clean under | Taller leg stacks wobble more; use only the height you need |
| Zero-clearance (floor or platform) | Most stable; lowest bed height | The floor or platform must be flat and solid |
| Inside a bed frame | Keeping your existing headboard and bed look | Frame must fit, support the weight and never be attached to the base |
How to put an adjustable base in a bed frame
Measure the inside of the frame and compare it to the base. For the SenseSync base, an enclosed frame's inside dimensions need to be 0.4 to 0.8 inches (10 to 20 mm) larger than the base on every side. Never force it in. If the frame opening is smaller than the base, leave the frame's slats or platform in place and set the base on top instead. Slats need to be at least 3 inches wide and no more than 4 inches apart, with center support on Queen and King frames. SenseSync isn't designed to sit on box springs, bunkie boards, futon bases or sofa beds.
If the base will stand on its legs inside the frame, Tempur's help center notes that the slats may need to be removed so the base fits and works properly. Either way, don't attach the base to the frame's side rails; Tempur says doing so can affect performance and may void the warranty.
Placing the Mattress and the Retainer Bar
The mattress goes on last, after the base has moved freely through a full cycle.
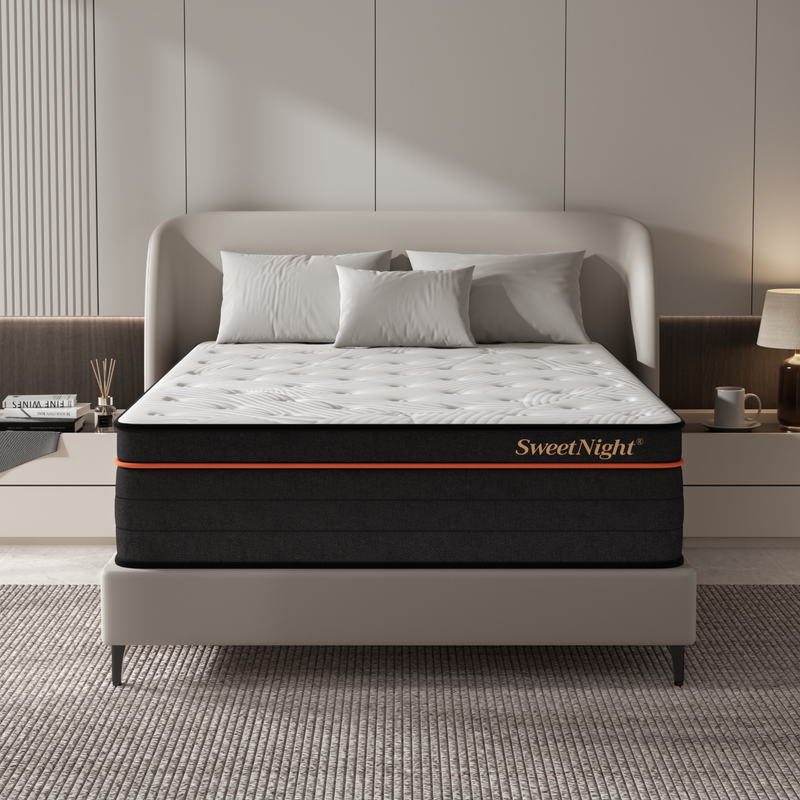
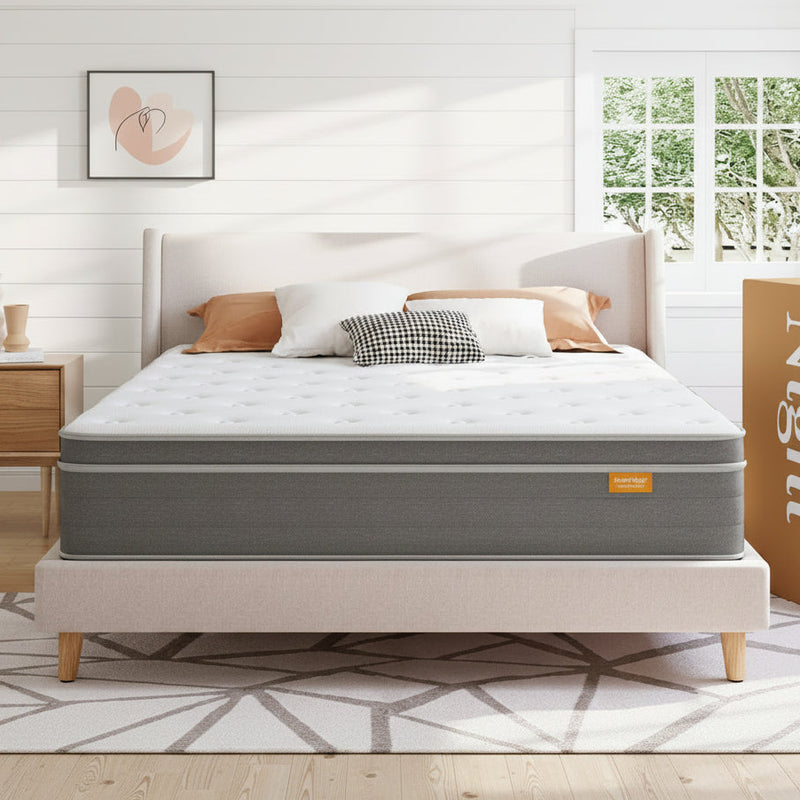
First, the compatibility rule. The SenseSync base is designed for all-foam memory foam mattresses 12 or 14 inches thick. No hybrid, innerspring or pocket-coil mattresses, and nothing 16 inches thick. A Split King takes two Twin XL memory foam mattresses at 12 or 14 inches, ideally the same model and thickness so the tops sit level.
- Clip the retainer bar onto the foot of the base. It's a steel bar that stops the mattress sliding toward the foot when the head rises.
- Lay the mattress on the flat base and slide it down until it touches the retainer bar. Center it side to side.
- Raise the head to a high angle and lower it again. The mattress should stay put.
- Put the sheets on with the bed flat, then test again. Fitted sheets pop off corners on adjustable beds more than on flat ones; our guide to sheets for adjustable beds covers pocket depth and straps.
On a Split King, the mattresses can drift apart sideways. Tempur's help center suggests placing carpet backing or a non-slip mat between each mattress and the base for extra grip.
Pairing Remotes on a Split King Adjustable Bed
A Split King is two bases side by side, each with its own remote. On the SenseSync Split King, the two remotes can control each side separately, or the two bases can be paired so one remote moves both together. Your manual has the pairing steps; follow those rather than generic instructions, since sequences vary from brand to brand.
A few practical habits help. Label the remotes (a strip of tape is enough) so nobody drives the wrong side at 2 a.m. Pair the bases only when you want to move together, for watching a film or when a topper spans both sides. And expect paired bases to be a moment apart rather than perfectly synchronized; Serta's manuals say up to 1.5 seconds is normal for its bases. Our split king adjustable bed guide covers the gap in the middle, sheets and mattress matching.
Battery Backup: Add the 9V on Day One
A power outage with the head raised is exactly when you'll want the backup, and exactly when you won't have a battery on hand. The SenseSync base has a 9V battery clip so it can be lowered during an outage, and the battery isn't included. Put one in during setup and follow the manual for how the backup is used. Tempur's instructions for its own backup note that battery lowering is much slower than normal, so don't be alarmed if it creeps. A fresh battery once a year is a reasonable habit.
First-Week Checklist
Bases settle in over the first days, and so do people. Run through this list about a week after setup:
- Check every leg is fully threaded and the base doesn't rock when someone rolls over.
- Look for rub marks where the base meets the frame, wall or nightstands.
- Confirm cords are still clear of the moving deck and nothing has migrated under the bed.
- Try the Child Lock (on SenseSync, hold Head Down and Foot Down together for 3 seconds) so you know what it looks like when it's on.
- Save positions you've settled on to M1 and M2 so you stop hunting with the arrows.
- Listen during a full cycle; the motor should sound the same as on day one.
- Give yourself time to adjust to sleeping inclined; start with small angles.
If something knocks or squeaks, our guide to adjustable bed wobble and squeaking walks through the usual causes.
How to Move an Adjustable Bed Base
Moving is where bases get damaged, and it's usually not covered. Tempur states that damage from moving, transport, improper handling or disassembly isn't covered under its warranty, and many brands exclude it too.
- Return the base to flat, then unplug it.
- Remove bedding, the mattress and the retainer bar.
- Take off the legs and bag them with the remote, the power supply and any hardware.
- Fold the base, if it's designed to fold. A folding base like SenseSync is far easier to carry folded than flat.
- Move it with two people, and pad the corners of the frame against door frames and walls.
- At the new home, repeat the empty-cycle test before the mattress goes back on.
If you have the storage space, keep the original box. It's the easiest way to move a folded base again. For warranty terms and what to do if the base stops working after a move, see how long adjustable beds last. And if you're still choosing a base, the SenseSync adjustable bed frame page lists every size and box dimension. (Disclosure: SweetNight makes the SenseSync base.)
FAQ
What do I need for my new adjustable bed?
You need a mattress the base is designed for, fitted sheets deep enough for that mattress, a nearby grounded outlet or surge protector, a clear floor area, and a second person for carrying and unfolding. If the base has a battery backup that uses a 9V battery, buy one in advance; on the SenseSync base the battery is not included. Furniture pads help on hard floors.
How do you assemble an adjustable bed?
Open the box in the bedroom, lift the base out with two people, and unfold it according to the manual, keeping hands clear of the hinges. Attach legs or set it on the floor or frame, plug it in, and run the head and foot through a full cycle with no mattress on it. Then clip on the retainer bar, place the mattress and test again.
How do you put an adjustable base in a bed frame?
Measure the inside of the frame and compare it with the base dimensions. For the SenseSync base, the frame opening should be 0.4 to 0.8 inches larger than the base on every side. If it fits, lower the base in without forcing it; if the opening is smaller, leave the slats or platform in place and set the base on top. Never attach the base to the side rails.
How do you move an adjustable bed base?
Lower it flat, unplug it, and take the mattress off. Remove the legs and any retainer bar, then fold the base if it is designed to fold, and carry it with at least two people. Tempur warns that moving damage is not covered under its warranty, which is common, so pad the frame and keep the remote and power supply together in a bag.
Will an adjustable bed fit through a 32-inch door?
The 32-inch figure is a minimum clear width for accessible doors and for one exit door per home, not a standard size for bedroom doors, so measure your own. A folded base in a box under 7 inches thick, carried on its edge, rarely has trouble with the door itself. The tighter limits are usually stair turns, landings and weight.